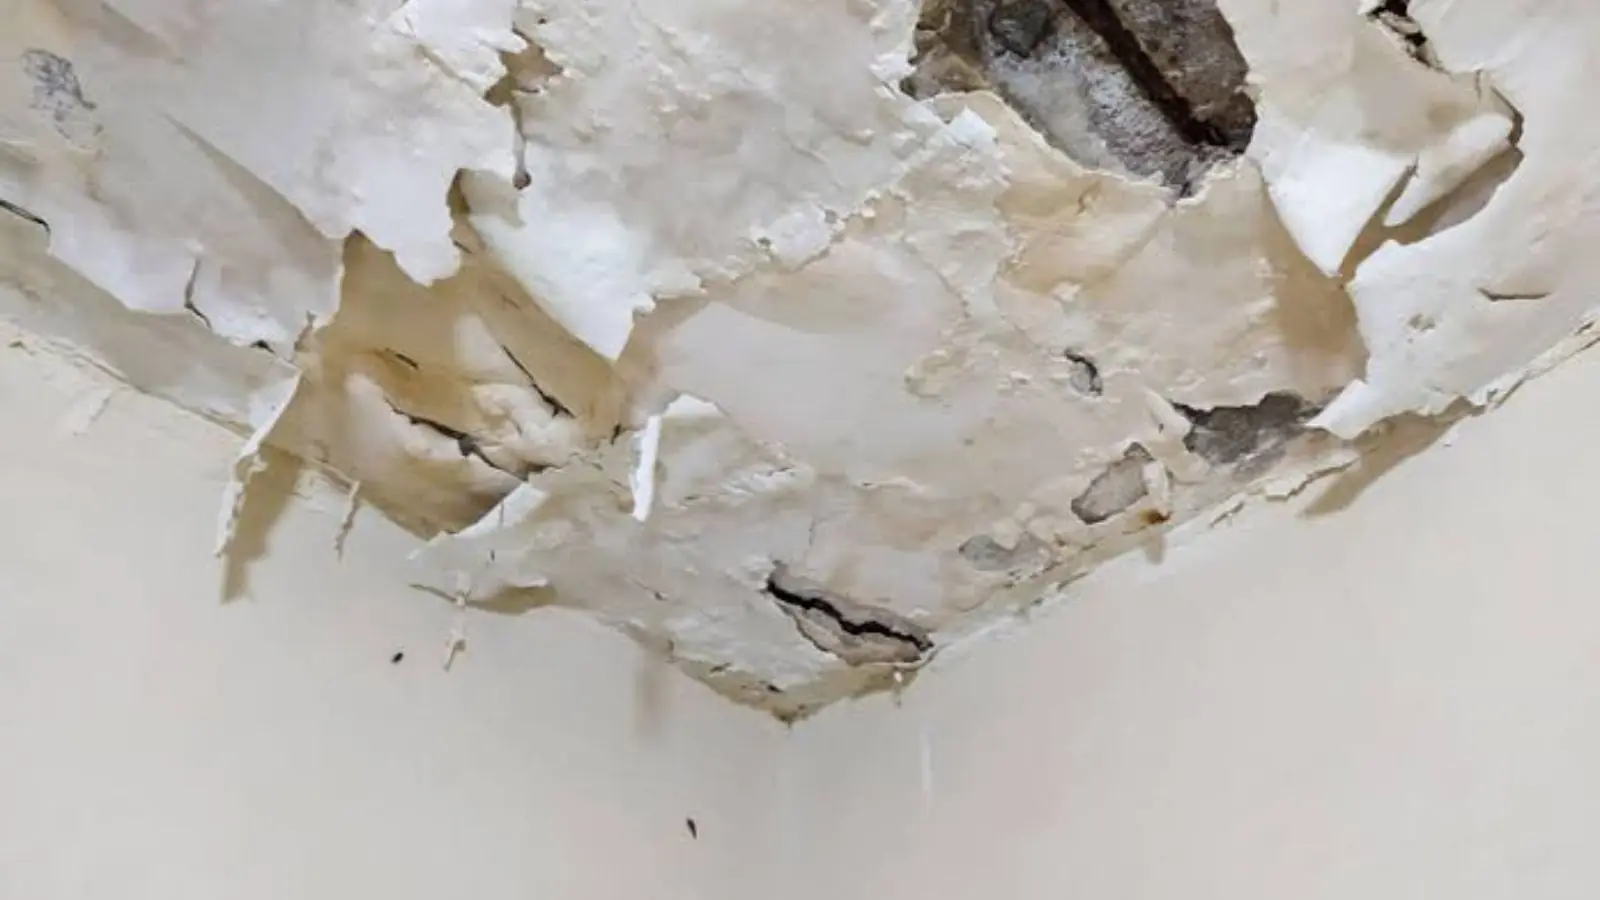
A water-stained ceiling can be a simple patch or a bigger rebuild, and the first question is not how large the stain is. It is what the ceiling is made of. Modern homes usually have gypsum drywall. Many older ones have plaster over wood lath, and some have both after past renovations. Each reacts to water differently and each is repaired differently.
This guide compares the two so you can understand what a technician is looking for and why a repair plan for one house would be wrong for another.
How to Tell Which You Have
Drywall ceilings are made of flat panels with taped seams. Tap on a dry section and you hear a hollow, light sound. Plaster feels harder and heavier, and a tap is dull and solid.
In an attic or a basement below, you may see wood lath strips with plaster keys pushed through the gaps, which is the clear sign of plaster and lath. Houses of a certain age often have both, with a plaster original and drywall added when a room was redone.
How Each Material Reacts to Water
| Question | Drywall | Plaster over lath |
|---|---|---|
| Absorbs water | Quickly, through the paper face and gypsum core | Slowly, but holds it in the lath and keys |
| Typical failure | Sag, bubble, soft spots and brown stains | Keys break, plaster loosens from lath and may sag or fall |
| Can it dry in place | Small stains often can, wet board usually cannot | Sometimes, if firmly attached and the lath is sound |
| Weight if it fails | Lighter panels, but wet board is heavy | Heavy sections can come down at once |
| Typical repair | Cut out wet board, replace, tape, prime and paint | Re-secure loose plaster, patch or skim coat, or replace with board |
| Special concern | Mold on the paper face | Weight, dust and older materials in finishes |
A technician decides after testing the ceiling, not from a photo.
Drywall Ceiling Repair
The process is straightforward and the order matters. The source is stopped, the area is dried and measured, and wet insulation above is removed. Damaged board is cut back to a clean edge, usually a few inches past the last wet reading, to joists where new board can be fastened. Replacement board is hung, taped and finished, and a stain-blocking primer goes on before paint.
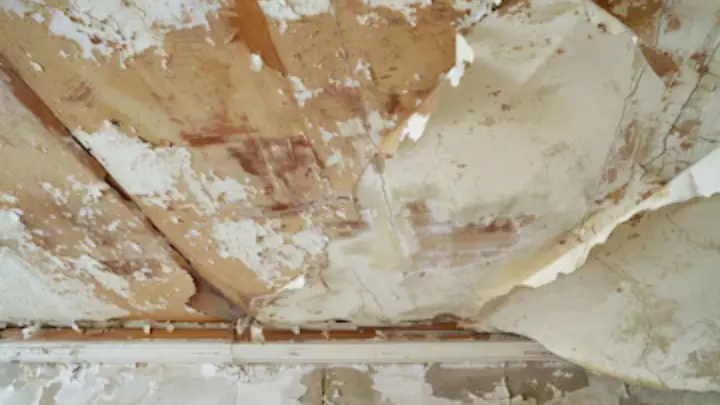
Textured ceilings take an extra step, since the texture has to be matched for the patch to disappear in raking light. Painting the whole ceiling, edge to edge, usually looks better than a spot paint, because old paint has aged and a patch will show.
Plaster Ceiling Repair
Plaster is more variable. If the plaster is firmly attached and the lath is sound, it can sometimes be dried in place and patched. If the keys that hold it to the lath have broken, the plaster can sag or drop. A loose section can be re-secured with screws and washers or adhesive, then skim coated. In other cases it is better to remove the damaged area and replace it with drywall.
Plaster dust, old paint layers and older materials can complicate removal in an older house. If a ceiling has not been tested and it is old, a careful approach is warranted, and the right first step is to ask a qualified person about the materials before anything is scraped or sanded.
Not sure which ceiling you have? Call the 24/7 line and describe the age of the house and the damage.
☎ Call (301) 936-0619Signs a Ceiling Is Beyond a Patch
- Sag, bulge or a visible belly in the ceiling surface.
- Water dripping from a stain or a light fixture.
- Plaster that sounds hollow when tapped or feels loose.
- Cracks that run along lath lines and widen.
- A stain that returns after the area has been painted.
- Insulation above the ceiling that is still wet.
If the Ceiling Is Sagging
Stay out from under it. A wet ceiling can come down without warning, and wet material is heavy.
If water is dripping from a light fixture, turn off power at the breaker and do not touch the fixture.
Do not poke a hole to release water unless you are told to. Call for help first.
A Local Note From Greenbelt's Historic Core
Greenbelt's original core is the Greenbelt Historic District, listed on the National Register in 1980 and designated a National Historic Landmark District in 1997. Construction began on January 13, 1936 and the first tenants moved in on September 30, 1937.
Homes of that era are exactly where it is worth asking what a ceiling is made of before work starts. Greenbelt Homes, a cooperative of 1,600 homes that built its first homes in 1937, has its own member rules for repairs, so ask your cooperative about them.
What to Ask Before Work Starts
- What is this ceiling made of, and how did you determine it?
- How will you decide whether it can be saved or must be replaced?
- What is above the ceiling, and will it be checked and dried?
- How will you match the texture or finish?
- Are drying readings recorded before the ceiling is closed?
The drying step is the same whatever the material. The EPA advises drying water-damaged areas and items within 24 to 48 hours to prevent mold growth, and a ceiling closed over wet insulation defeats the purpose of the repair.
Where Repair Fits in a Larger Job
Ceiling repair is the last step, not the first. The source comes first, then drying, then the rebuild. Our water damage repair page walks through rebuilding drywall, ceilings, floors and paint once the structure is dry. If water is still coming through, water mitigation covers moisture mapping and drying.
Homes in Greenbelt and Hyattsville use the same 24/7 line. Scope and price are explained before work starts.
A Note on Painting and Finishes
Stain-blocking primer matters on both materials. Water stains bleed through ordinary paint and return as brown rings, and a proper primer seals them. On plaster, the surface may need to be skim coated to a smooth finish before priming. On drywall, joint compound must be fully dry and sanded before primer goes on, or the seam will show later.
Give the finish time. Rushing paint over a patch that has not cured leads to flashing, where the repaired area looks shinier or duller than the rest. A good repair plan allows for drying time between each coat, and a good painter will tell you when the room is ready.
Why Photos Help Both Sides
Before anything is cut or removed, take photos of the stain from several angles, the room above if you can reach it and any fixtures nearby. They show the original condition, help a technician understand the path of the water and are useful if an insurer asks what the ceiling looked like at the start.
One last point on timing. A ceiling that has been wet for only a short time and is firm to the touch has a better chance of being saved than one that has stayed damp for days. Acting early keeps more options open and usually keeps the job smaller. A technician can walk you through this on the phone, and the scope and price are explained before any work starts.
Ceiling stained or sagging? Call and we will walk through the safe next step.
☎ Call (301) 936-0619Standards Behind Ceiling Drying
Drying a ceiling cavity before repair follows ANSI/IICRC S500. The EPA advises drying water-damaged areas within 24 to 48 hours to limit mold growth.
Questions About Ceiling Materials
Sometimes. If it is firmly attached and the lath is sound, it can be dried and patched. If the keys have broken or it has sagged, it is usually re-secured or replaced.
A patch hides the stain without checking the insulation above or the moisture in the ceiling. Check the source and the dry reading first.
No. A small stain on firm, dry drywall may only need priming and paint. Soft, sagging or long-wet board is replaced.
If the ceiling is textured, yes. Matching the texture and repainting the full ceiling gives the best result.
Ask Greenbelt Homes about its repair rules before work starts, since a cooperative may have its own procedures for work inside a home.